
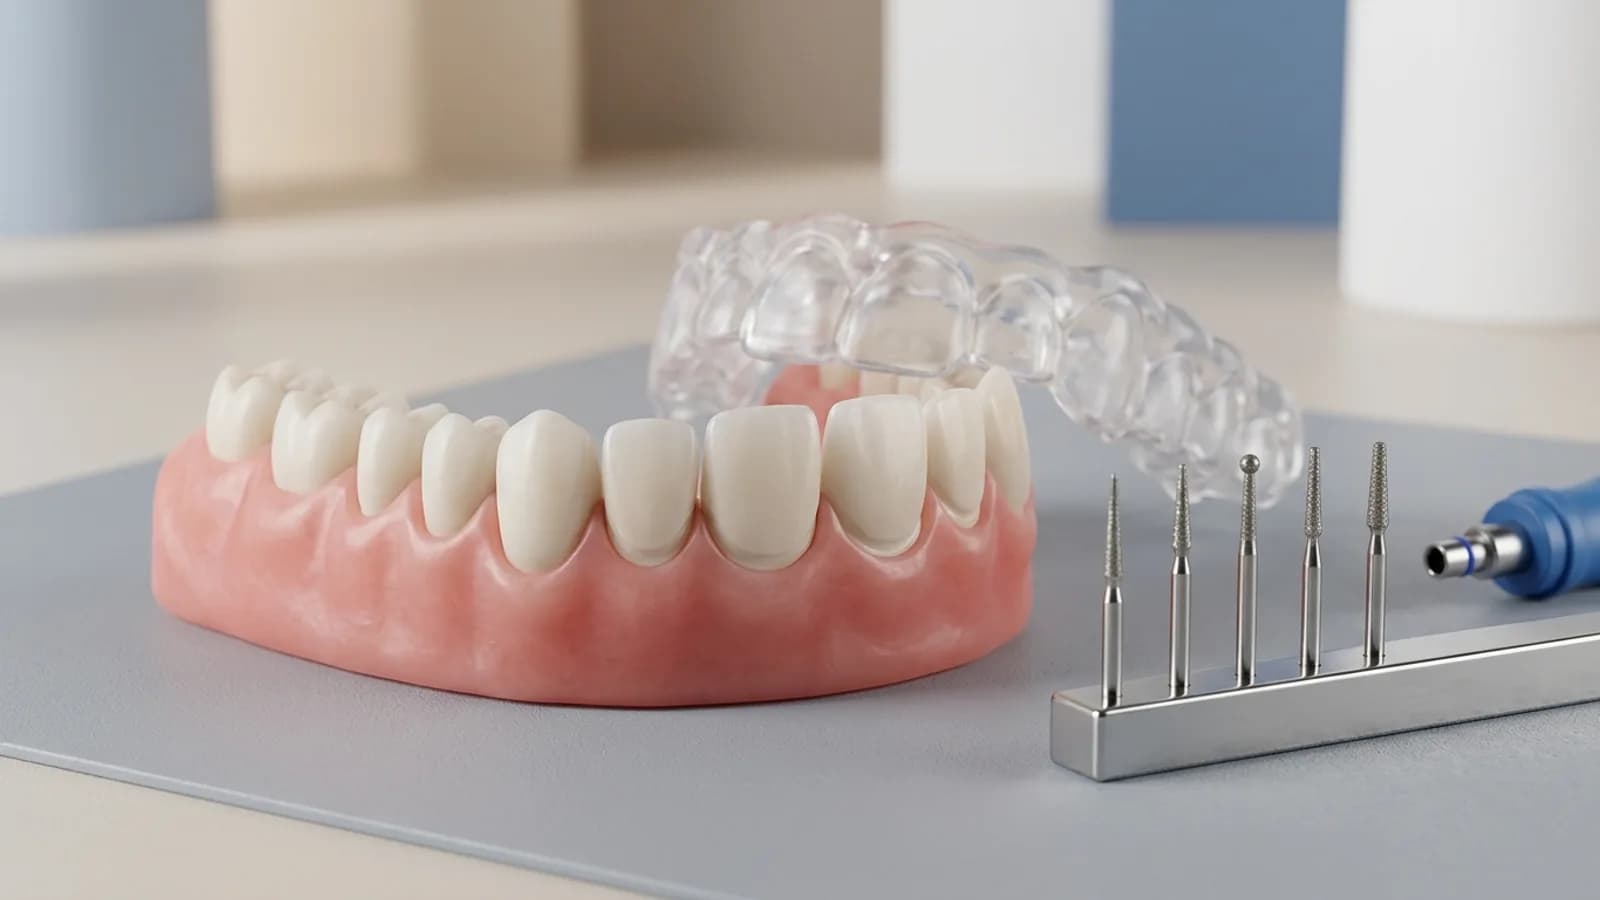
A good veneer prep is not defined by how much tooth you remove but by where the final restoration will sit. This guide walks through a veneer prep sequence that starts from the planned result, controls depth through a mock-up, and keeps the bonding surface in enamel. After reading it you will be able to choose a preparation type, set the incisal design and recognise the mistakes that cause fractures, debonding and grey shadows.
Why preparation depth matters: enamel is the bonding substrate
Laminate veneers are among the least invasive indirect restorations. In a gravimetric study on typodont teeth, Edelhoff and Sorensen measured that veneer preparations removed roughly 3% to 30% of the coronal tooth structure, while all-ceramic and metal-ceramic crown preparations removed about 63% to 72% (Edelhoff and Sorensen 2002). That advantage only holds if the preparation stays shallow.
The limiting factor is labial enamel, and it is thin where you need it most. In maxillary incisors, Pahlevan and colleagues measured the thinnest labial enamel in the cervical third: about 0.35 mm on central incisors and 0.24 mm on lateral incisors, against roughly 1.2 mm in the incisal third (Pahlevan et al. 2014). A uniform 0.5 mm cervical reduction on a lateral incisor will therefore usually reach dentin.
Why this matters clinically:
- In a retrospective survey of 580 veneers over up to 12 years, veneers bonded to dentin, or with margins in dentin, were about 10 times more likely to fail than veneers bonded to enamel. Survival was 99% when the preparation stayed in enamel (Gurel et al. 2013).
- In 672 veneers followed for 1 to 15 years, teeth with more than 30% exposed dentin had a significantly lower estimated survival than enamel-only preparations (93.9% versus 96.7%) (Etienne et al. 2025).
- Biomechanically, removing the facial enamel shifts high tensile stress into the palatal concavity of the incisor, and the authors concluded that lost facial enamel should be replaced with a material of enamel-like properties (Magne, Versluis and Douglas 1999).
When dentin exposure is unavoidable, seal it immediately. In an 11-year prospective trial, veneers on teeth with more than 50% exposed dentin survived at 96.4% with immediate dentine sealing and 81.8% without it (Gresnigt et al. 2019).
Plan additively: wax-up, mock-up and silicone indices
The single most effective way to save enamel is to prepare from the future tooth surface, not from the existing one. Magne and Belser described how depth cutters guided by the existing labial surface ignore wear, retroclination and earlier tissue loss, and so lead to more dentin exposure; preparing through a diagnostic mock-up compensates for this (Magne and Belser 2004).
In practice the planning chain looks like this:
- Photographs and a 2D or digital smile design to agree on the aesthetic goal with the patient.
- Analogue or digital wax-up of the planned tooth forms, ideally on a printed model.
- A transparent silicone matrix over the wax-up, extended two to three teeth beyond the planned preparations, with the interdental spaces fully moulded and free of bubbles.
- Horizontal and vertical silicone indices from the same wax-up. The horizontal index is cut at mid-crown height; the vertical index is sectioned through the centre of the teeth.
- An intraoral mock-up in bis-acrylic or flowable composite through the matrix. The patient sees and tests the result before any enamel is removed.
The mock-up decides which preparation type each tooth needs. For a deeper look at choosing the ceramic for the planned thickness, see E.max vs zirconia for veneers, onlays and crowns.
Veneer prep design: four relationships between reduction and ceramic thickness
Comparing the mock-up with the existing tooth gives one of four situations, often more than one on the same tooth:
| Situation | Reduction vs ceramic thickness | Typical case |
|---|---|---|
| A | Reduction equals ceramic thickness | Tooth in a good position, colour change or shape correction |
| B | No reduction needed (non-prep or minimal-prep veneer) | Retroclined or small teeth, diastema closure, additive wear cases |
| C | Reduction greater than ceramic thickness | Proclined or rotated teeth that must be moved back into the arch |
| D | Combination on one tooth | Rotated teeth: additive on one side, reductive on the other |
Situation C is where the evidence on dentin exposure becomes relevant. If a large part of the labial surface would end in dentin, consider orthodontic alignment first; many aesthetic cases have an orthodontic component that is cheaper in tooth structure than a deeper preparation.
Ceramic thickness for laminate veneers typically ranges from about 0.3 to 1.5 mm (Hajtó and Marinescu 2012). The aim is a thickness that is as uniform as possible across the labial surface. Abrupt changes in thickness produce isolated areas of high translucency, which remain visible after cementation and are hard to correct with the luting composite (Hajtó and Marinescu 2012).
Hands-on dental courses
Courses for dentists in Munich, several of them taught in English.
See all coursesStep-by-step veneer prep through the mock-up
With the mock-up in place, depth control becomes a matter of reducing the mock-up layer plus a defined amount of enamel. The following sequence keeps the preparation predictable:
- Depth orientation. Place depth-orientation grooves through the mock-up with a depth-marking bur, or mark depth with a round diamond, in two planes: cervical and incisal half of the labial surface. The labial surface of an incisor is curved, so a single plane would cut too deep cervically or incisally.
- Cervical part. Remove the marked depth in the cervical half, following the convexity. The finish line is a light, smooth chamfer, placed at or slightly above the gingiva unless discolouration requires it to be hidden. Keep it very light: in an in vitro study on central incisors, chamfer preparations in the cervical area tended to expose dentin, whereas knife-edge preparations did not (Pahlevan et al. 2014).
- Incisal part. Reduce the incisal half in its own plane. After two-plane reduction, a U-shaped line remains in the middle of the labial surface.
- Middle plane. Blend the two planes into one smooth, rounded surface. Check with the horizontal index that the reduction is even.
- Incisal shortening. Reduce the incisal edge if the design calls for it (see next section), and check with the vertical index.
- Palatal finish line. Place the palatal chamfer or butt joint, keeping it out of the palatal concavity.
- Proximal extension. Extend into the proximal area with a chamfer so the margin is invisible from the front. For diastema closure, the proximal finish line extends further palatally to give the technician room for the emergence profile.
- Finishing. Round all internal line angles and remove sharp edges. Sharp transitions concentrate stress in the ceramic and make seating harder.
Before you take the impression or scan, check the preparation once more with the indices and look for enamel islands, dentin exposure and undercuts. Separate proximal contacts cleanly so the impression or scan captures the margins, and protect intact neighbouring teeth with a metal strip or wedge guard.
Existing composite restorations
Old composite restorations within the preparation area are common. Gresnigt and colleagues did not find a significant difference in veneer survival between teeth with and without pre-existing composite restorations of acceptable quality, which were conditioned rather than removed (84.6% versus 95.5%, difference not significant) (Gresnigt et al. 2019). Whether to replace a filling depends on its quality and whether a margin would end inside it.
Incisal design: feathered edge, butt joint or palatal chamfer
The incisal design is the most debated part of veneer prep design. The options range from a feathered edge (window preparation, no incisal coverage) to a butt joint, a palatal chamfer and a long palatal overlap.
What the data show:
- Survival. A meta-analysis found estimated survival of 88% with incisal coverage and 91% without; the odds ratio of 1.25 was not significant (Albanesi et al. 2016).
- Fracture load in vitro. Castelnuovo and colleagues compared four designs on central incisors. Veneers without incisal reduction and veneers with a 2 mm incisal reduction and butt joint had fracture loads comparable to intact teeth and no veneer fractures. Designs with a palatal chamfer showed lower loads and more veneer fractures (Castelnuovo et al. 2000).
- Different test, different result. Schmidt and colleagues found a higher load to failure for a 2 mm incisal reduction with palatal chamfer than for the shoulder alone (Schmidt et al. 2011). In vitro data on incisal design are not consistent, and test set-up drives the result.
- Stress analysis. In a finite-element analysis, long chamfers extending into the palatal concavity carried the highest tensile stresses; butt margins or mini-chamfers were recommended, especially in worn or fractured teeth (Magne and Douglas 1999).
The practical conclusion is to cover the incisal edge with a butt joint or a short palatal mini-chamfer and keep the margin out of the palatal concavity. Compared with a feathered edge, incisal coverage gives the veneer a defined seating position, lets the technician design the incisal translucency freely and gives the provisional restoration more retention. The feathered edge remains an option for very minimal cases where the incisal edge length does not change.
Common mistakes in veneer prep
| Mistake | Consequence | Prevention |
|---|---|---|
| Preparing from the existing tooth surface | Dentin exposure, uneven ceramic thickness | Mock-up guided reduction |
| Single-plane labial reduction | Too deep cervically or incisally | Two-plane reduction, then blending |
| Abrupt depth changes | Isolated translucent windows | Uniform thickness, check with index |
| Palatal margin in the concavity | Thin ceramic in a high-stress zone | Butt joint or mini-chamfer |
| Opaque cervical ceramic to mask a deep margin | Visible margin, no chameleon effect | Keep margin in enamel, choose shade carefully |
| Sharp internal angles | Stress peaks, poor seating | Round all edges |
Prognosis: what patients can expect
Laminate veneers have good long-term data when they are bonded to enamel and the patient is selected carefully. In a retrospective study of 318 silicate-ceramic veneers, estimated survival was 94.4% at 5 years, 93.5% at 10 years and 82.93% at 20 years. Bruxism increased the failure risk 7.7-fold, and non-vital teeth also failed more often (Beier et al. 2012). A meta-analysis of 13 studies reported an overall survival of 89% at a median follow-up of 9 years, with fracture or chipping as the most frequent complication (Morimoto et al. 2016).
Between preparation and cementation, the prepared enamel needs protection and the patient needs to function socially. How to fabricate and fix provisionals without contaminating the bonding surface is covered in veneer temporaries: fabrication and provisional cementation. If the case requires full coverage instead, compare with crown preparation for all-ceramic restorations.
Summary
A predictable veneer prep starts with an additive plan and ends with a preparation that is as shallow as the planned ceramic allows. Prepare through the mock-up in two planes, keep the margins in enamel, cover the incisal edge with a butt joint or mini-chamfer outside the palatal concavity and aim for uniform ceramic thickness. Seal exposed dentin immediately. Dr. Hajtó teaches this sequence hands-on with models and clinical cases in his veneer and adhesive prosthodontics courses for dentists.
Frequently asked questions
How much enamel do you remove for a veneer prep?
There is no single number. Ceramic thickness for laminate veneers usually lies between about 0.3 and 1.5 mm, and the reduction depends on how the planned tooth surface relates to the existing one. Because cervical labial enamel on maxillary lateral incisors measured only about 0.24 mm in one study, depth should be measured from the mock-up, not from the existing tooth, to keep the preparation in enamel.
Is a butt joint or a palatal chamfer better for veneers?
Clinical meta-analytic data show no significant survival difference between veneers with and without incisal coverage. In vitro studies differ: one found the butt joint as strong as an intact tooth, another found higher failure loads with a palatal chamfer. A finite-element analysis argues against long palatal extensions into the concavity. A butt joint or mini-chamfer outside the concavity is a reasonable default.
What happens if dentin is exposed during veneer preparation?
Dentin exposure increases the failure risk; one retrospective study found veneers on dentin about ten times more likely to fail than those on enamel. If dentin is exposed, apply immediate dentine sealing right after preparation. In an 11-year trial, veneers on teeth with more than 50% exposed dentin survived at 96.4% with immediate sealing versus 81.8% without.
Do you always need a mock-up before veneer prep?
Not for every single tooth, but for most aesthetic cases it is the most reliable way to control depth. A mock-up shows the patient the planned result and lets you prepare from the future surface. Preparing from the existing tooth ignores wear and malposition and leads to more dentin exposure and uneven ceramic thickness.
Can veneers be placed over existing composite fillings?
Yes, if the restorations are of acceptable quality and properly conditioned. An 11-year prospective trial found no significant survival difference between veneers on teeth with and without pre-existing composite restorations. Replace fillings that are leaking, discoloured or would place the preparation margin inside the composite.