A diagnostic wax-up is the first time the planned result exists in three dimensions, and the mock-up is the first time the patient can see it in their own face. Together they turn an aesthetic idea into something you can test, change and sign off before a single bur touches enamel. This article explains what the laboratory needs for a diagnostic wax-up, how Dr Jan Hajtó turns it into a mock-up, a matrix and preparation templates, where the analogue transfer loses accuracy, and how to test shape and shade before the final ceramic.
Why test before you prepare
Aesthetic veneer cases rarely succeed in one step. Dr Hajtó calls the alternative "stepstone dentistry": a sequence of planned steps, each with a check and the option to correct before moving on, in the spirit of the Plan-Do-Check-Act cycle used in quality management. The wax-up and mock-up are the first and most important of these checkpoints.
The clinical argument is enamel. Magne and Belser showed that depth cuts guided by the existing tooth surface ignore wear and ageing and carry a greater risk of dentin exposure, while an additive wax-up or mock-up preserves more enamel (Magne and Belser 2004). In Gurel's cohort of 580 veneers prepared through an additive mock-up, more than 80 % of preparations stayed in enamel, and where they did, no failures from debonding or microleakage occurred over 12 years (Gurel et al. 2012). The mock-up is also a communication tool between dentist, patient and technician (Reshad et al. 200800056-5)).
What the laboratory needs for a diagnostic wax-up
A wax-up is only as good as the information behind it. Simon and Magne stress that a wax-up must be correlated with the patient; otherwise the result looks ideal on the casts but does not fit the smile (Simon and Magne 2008). Dr Hajtó documents every anterior case with casts or scans and a standard photo series; the laboratory should receive at least:
- casts or intraoral scans of both arches with a bite registration,
- a standard photo series: full face with the head straight and lips relaxed, normal smile, maximum display, retracted views with teeth closed and apart, and frontal intraoral views,
- your clinical specifications: incisal edge position, midline, tooth length and proportions, the teeth to be treated and those to be left untouched,
- for changes in occlusion or vertical dimension, a correctly mounted cast and the planned vertical dimension.
Treat the laboratory order like a prescription: complete, legible, read and signed by you. The more precisely you describe what you expect, the easier it is to check the result, and a good laboratory will ask when something is unclear.
Planning tools before the wax-up
Smile simulations on photographs, 2D smile design software, AI-generated images and face scans can help a patient imagine the result and help you decide on proportions. Dr Hajtó weighs them soberly. On the plus side, they give patients a picture of what to expect and support the decision for treatment. On the minus side, they take time, must be mastered technically, ignore function and may create expectations that anatomy and ceramic cannot meet. An AI or photo simulation is a sketch, not a promise.
One specific trap: the dental midline on a 2D photo is not fully reliable, because a slight head rotation changes how it appears. Always verify midline and incisal plane on the patient. A 3D face scan, viewed in a simple viewer next to the digital wax-up, allows a symmetry check of the design against the face. The whole planning workflow is described in digital smile design.
Partial or full, analogue or digital
| Option | Typical use | Points to consider |
|---|---|---|
| Partial wax-up | single teeth, small shape corrections | quick and inexpensive; limited when occlusion changes |
| Full wax-up | many teeth, both arches, vertical dimension changes | basis for mock-up, templates and temporaries in large cases; more laboratory time |
| Analogue wax-up | classic laboratory workflow | tactile control on the cast |
| Digital wax-up | design in CAD software with tooth libraries, printed model | face reference, variants easy to compare, model must be printed for the matrix |
Digital design is no shortcut in quality, but it is not worse either. In a comparison of ten patients, face-guided digital wax-ups and conventional wax-ups achieved comparable right-left symmetry of the modified anterior teeth (Hristozova et al. 2024). In Dr Hajtó's workflow, the digital wax-up is printed as a model, and the matrix and preparation templates are made on that model.
Veneer Preparation course
Preparation, material choice and bonding of veneers, hands-on and taught in English.
View the courseReduction versus ceramic thickness: four scenarios
The wax-up shows, tooth by tooth, how the planned outer surface relates to the existing one. Dr Hajtó distinguishes four situations:
| Scenario | Relation | Consequence for preparation |
|---|---|---|
| A | planned reduction = ceramic thickness | classic preparation from the existing surface |
| B | no reduction needed | non-prep veneer, the volume is purely additive |
| C | reduction greater than ceramic thickness | tooth is too far labial or too long; reduction beyond the ceramic space |
| D | combination | additive and subtractive areas, sometimes on the same tooth |
The ceramic space is defined by the material. For IPS e.max Press veneers in the staining technique, Ivoclar specifies a minimum thickness of 0.6 mm and 0.7 mm incisally (IPS e.max Press IFU, Rev. 2, 2026); for other materials see E.max vs zirconia. An additive mock-up cannot show the reduction in scenario C and D areas, so in these areas the trial looks bulkier than the final result; keep this in mind when the patient judges it.
From wax-up to matrix and templates
The mock-up matrix
Dr Hajtó's requirements for the matrix:
- transparent silicone (for example Exaclear, Matrix Flow, Esthetic Gum or Memosil), so light-curing material can be cured through it,
- no bubbles,
- all interdental areas fully captured,
- extended two to three teeth beyond the last tooth to be prepared, for a stable, reproducible seat,
- supported by a smooth, rigid tray, for example a clear prefabricated impression tray.
An opaque, cervically trimmed silicone matrix is an alternative; because light cannot pass through it, it is used with self-curing material.
How accurate is the transfer?
The analogue transfer is never a perfect copy. Moldovani and colleagues compared six mock-up techniques with the digital wax-up they were made from (a seventh group of wax-up casts served as control): all mock-ups were larger than the wax-up, the incisal third was the least accurate and the middle third the most accurate. The most accurate groups were a transparent silicone matrix with flowable light-cured composite and a prefabricated transparent tray, and a hard laboratory putty with bis-acrylic resin; the largest deviation occurred with laboratory putty and PMMA (Moldovani et al. 2023). Ntovas and colleagues also found bis-acrylic mock-ups thicker than the virtual wax-up, regardless of silicone, and showed that supporting the silicone index with a printed tray reduced the discrepancy (Ntovas et al. 2025).
Two consequences follow. A rigid tray behind the silicone is worth the effort. And the mock-up is fuller than the plan, and least accurate in the incisal third, which matters when you judge length and when you use the mock-up to guide depth cuts.
Preparation templates
From the same model, the laboratory makes silicone templates to check the reduction during preparation. Dr Hajtó's specifications:
- Horizontal template: labially thick enough (about 8 mm), extending far enough over the gingiva not to be flimsy, interdental spaces fully moulded, cut horizontally at the middle of the clinical crown, the cut reaching half a tooth beyond the last prepared tooth and the silicone two teeth beyond, the palatal part removed horizontally, and a small triangular notch between the central incisors from below for orientation.
- Vertical template: cuts centred on the central incisors, silicone extending two teeth beyond the last prepared tooth.
How these templates are used during preparation is shown in veneer prep step by step.
Testing the mock-up in the mouth
The direct mock-up on unprepared teeth is placed with the matrix and assessed at rest, in speech and in a natural smile, with photographs and, ideally, a short video. Check incisal edge position and lip line, midline and incisal plane against the face, proportions, lip support, phonetics, and anterior and canine guidance. A mock-up can also test a planned increase of the vertical dimension before any irreversible step.
Give the patient time. A mock-up that is accepted in the chair may look different at home; a second appointment to confirm or adjust is cheap compared with a remake. Every change made in the mouth must go back to the laboratory so the wax-up, matrix and templates are updated. After approval, the same matrix serves for the depth cuts and later for the provisionals, described in veneer temporaries.
Beyond the mock-up: prototypes and colour samples
A bis-acryl mock-up shows shape, not colour. For larger cases Dr Hajtó adds two further tests:
- PMMA prototypes: fabricated by CAD/CAM from the approved design, tried in on the prepared teeth, adjusted with flowable composite where needed, and the changes sent back to the laboratory.
- Colour samples: test plates or a single ceramic restoration in the planned shade. In a "half try-in", for example, PMMA prototypes are placed on 13 to 11, 22 and 23 while 21 carries a ceramic sample, so the patient and you can compare shade and brightness directly.
The reason is simple: if the shade is wrong, every restoration is wrong. A colour sample costs one unit; a wrong shade costs the whole case.
Common pitfalls
- Wax-up without the face: a design made on casts only often produces teeth that are too long, too short or tilted in the smile.
- Additive mock-up hiding reduction: areas of scenario C and D appear fuller in the mock-up than in the final result.
- Unsupported matrix: a silicone index without tray support reproduces the wax-up less accurately, which also affects depth cuts made through the mock-up.
- Shade decided on the mock-up: bis-acrylic resin says little about the final ceramic.
- No feedback to the laboratory: changes made in the mouth but not transferred to the wax-up lead to preparation from an outdated plan.
- Function forgotten: a longer or fuller anterior segment changes guidance; check protrusion and laterotrusion before approval.
Summary
The diagnostic wax-up converts your clinical specifications and the patient's photographs into a three-dimensional plan; the mock-up tests that plan in the face before preparation. A supporting tray behind a bubble-free transparent matrix improves the accuracy of the transfer, but mock-ups still come out fuller than the wax-up. Preparation templates, PMMA prototypes and colour samples extend the same principle to every later step. Wax-up, mock-up, preparation and cementation are practised on patients in Dr Hajtó's hands-on veneer courses for dentists; the final step of the sequence is described in the veneer cementation protocol.
Frequently asked questions
What is a diagnostic wax-up in dentistry?
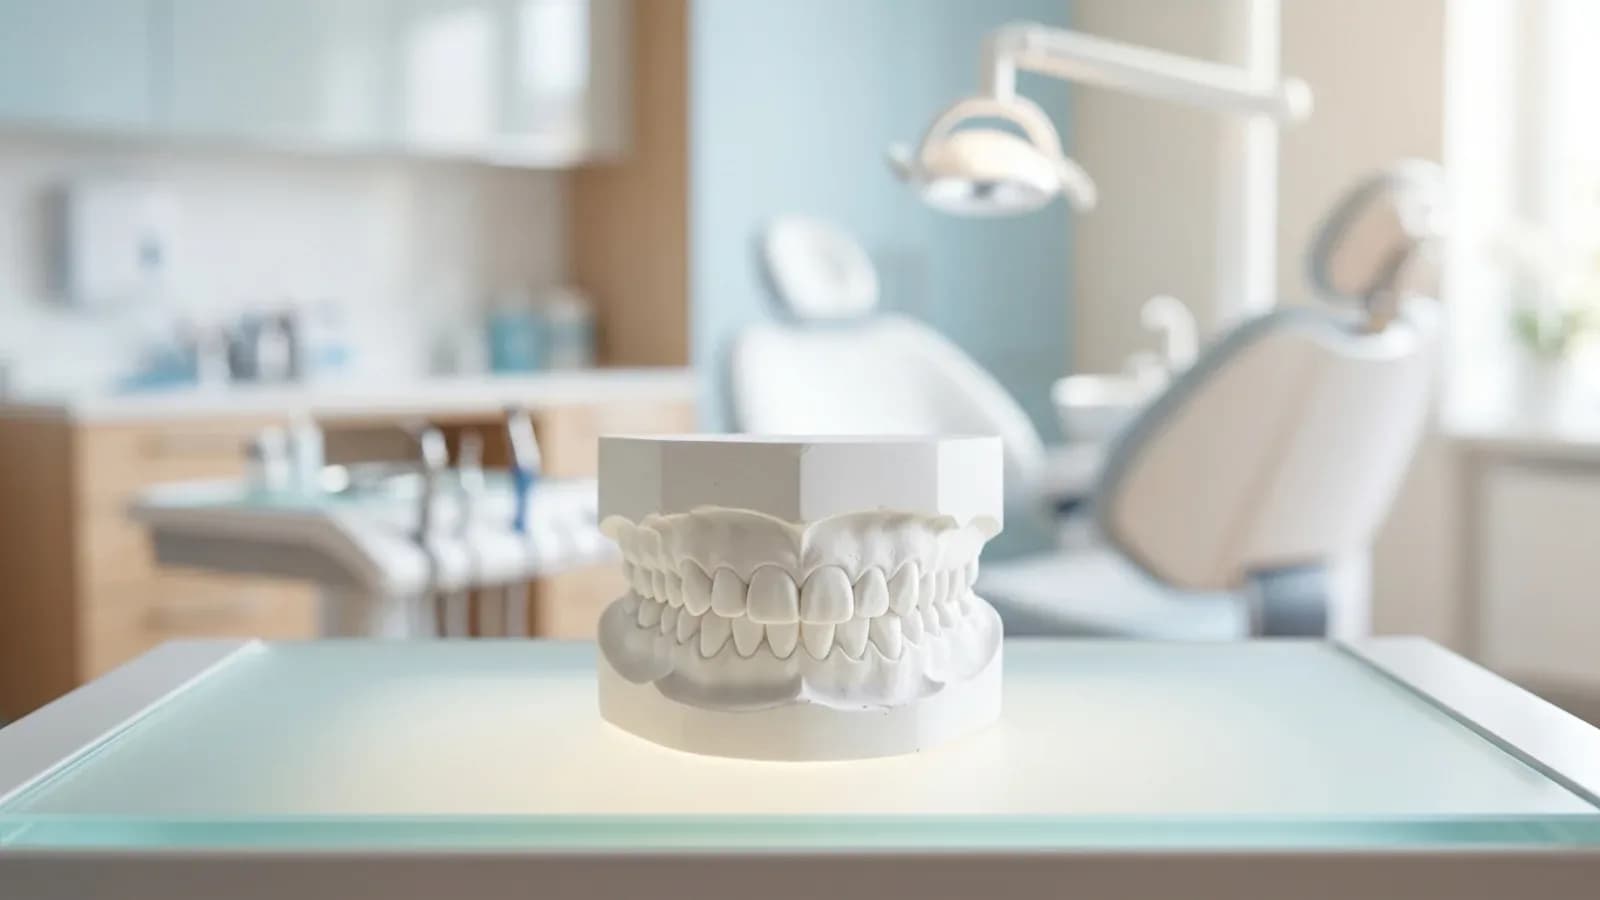
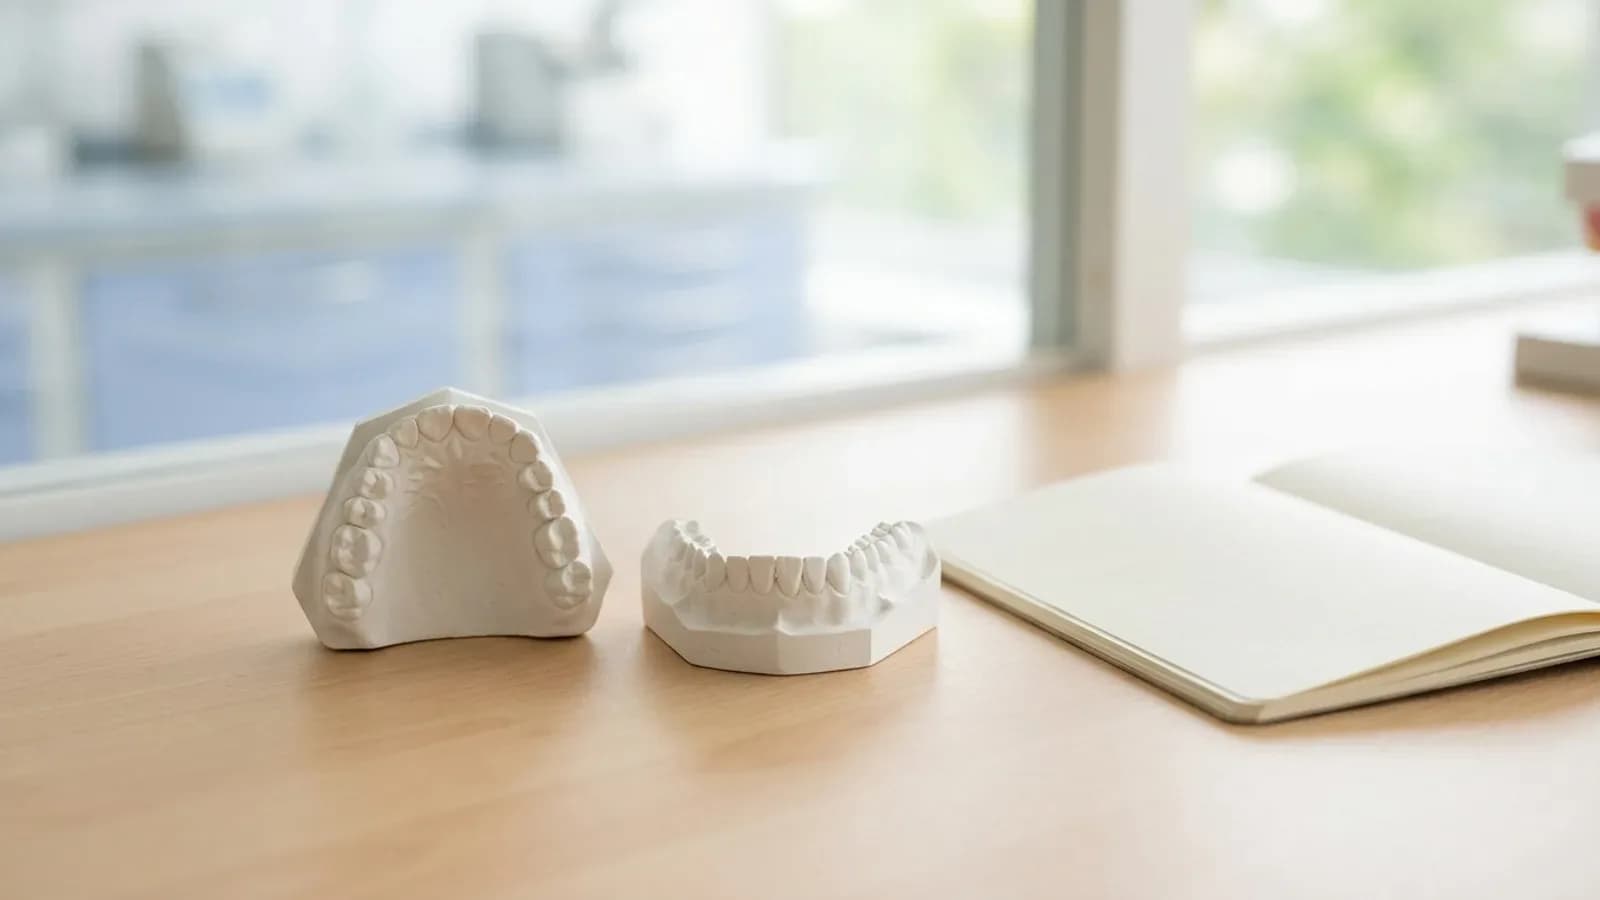
A diagnostic wax-up is a model of the planned final tooth shape, made in wax on a cast or designed digitally and printed. It translates clinical specifications such as incisal edge position, midline and tooth proportions into three dimensions. It is the basis for the mock-up, the silicone matrix, preparation templates and provisional restorations, and it lets you and the patient evaluate the result before any tooth structure is removed.
What is the difference between a wax-up and a mock-up?
The wax-up is the plan on the model; the mock-up is that plan transferred to the patient's unprepared teeth with a silicone matrix and provisional material. The wax-up is judged on the cast, the mock-up in the patient's face, at rest, in speech and when smiling. Changes found at the mock-up stage go back into the wax-up before preparation starts.
How accurate is a mock-up compared with the wax-up?
Not perfectly. In laboratory studies, every analogue mock-up technique produced mock-ups larger than the wax-up, with the greatest deviation in the incisal third. A transparent silicone matrix in a prefabricated tray and a hard laboratory putty with bis-acrylic resin were the most accurate, and supporting the silicone index with a printed tray reduced the discrepancy. Clinically, judge length with this in mind and keep the matrix stable and reproducible.
Can a mock-up test a change in vertical dimension?
Yes. Dr Hajtó also uses the mock-up to simulate a planned increase of the vertical dimension before any irreversible step. The wax-up is made on mounted casts at the new vertical dimension, and the mock-up transfers it to the unprepared teeth. You can then assess appearance, phonetics and the patient's first impression, and check anterior guidance before committing to preparation.