Digital smile design moves aesthetic planning from the dental cast to the patient's face: you design the new smile on standardised photographs before a single tooth is touched. The software gets most of the attention, but the clinical value lies in the sequence that follows it. This article walks through that sequence as Dr. Hajtó uses it for veneers and anterior crowns, from the photo protocol to the final try-in, and sets out what the evidence says about its benefits and its limits.
What "Digital Smile Design" refers to
Digital Smile Design (DSD) is a concept developed by the Brazilian dentist Christian Coachman, who also founded the Digital Smile Design company (digitalsmiledesign.com). The company bears the same name. In everyday use, the lower-case term "digital smile design" has come to describe any facially driven, photo-based aesthetic planning, whichever program is used. This article deals with that general principle, not with a particular product.
In the approach described by Coachman and colleagues, facial reference lines drawn on photographs form a two-dimensional "smile frame" that guides the later 3D design. Short smartphone videos are added because lip dynamics during speech and laughter differ from a static posed smile (Coachman et al. 2017a). In complex rehabilitations, the facial plan can be merged with scanned casts and other 3D data in planning software to guide virtual waxing (Coachman et al. 2017b).
The workflow at a glance
Dr. Hajtó works through aesthetic anterior cases in six stages, each one testing and, where necessary, correcting the one before:
- Smile design: two-dimensional planning on the photograph
- Imaging: a realistic simulation for the patient
- Wax-up: analogue or digital, partial or full
- Mock-up: the wax-up transferred to the unprepared teeth
- Provisionals: chairside, laboratory-made or long-term
- Try-ins: prototypes and shade samples before the definitive work
The number of stages is not fixed. A straightforward case may need three; a complex one may need several wax-up rounds and more than one set of provisionals. The underlying logic is a quality cycle of plan, do, check and act. If the mock-up shows that the incisors are too long, you step back and change the plan while all the enamel is still there.
Stage 1: the photo protocol
A digital design can only be as reliable as the images it is built on. Dr. Hajtó uses a fixed photo series for all anterior work:
- full face, head straight, lips relaxed
- full face, natural smile
- full face, maximum smile
- full face with cheek retractors, teeth together
- full face with cheek retractors, teeth slightly apart
- intraoral frontal with retractors, teeth together
- intraoral with retractors, teeth slightly apart
Add a short video of the patient talking and laughing. The spontaneous smile and speech are regarded as valuable diagnostic information in addition to the posed social smile, and tooth display can be measured reliably from video frames (van der Geld et al. 2007). Classify the smile line at this stage. In Tjan's classic analysis of 454 students, 10.6% had a high smile line showing a continuous band of gingiva, 68.9% an average and 20.5% a low smile line (Tjan et al. 1984). A high smile line raises the stakes for the gingival outline, the papillae and every restoration margin.
The photos are only one part of the records. Casts or intraoral scans, radiographs and a functional examination belong in the same file.
Stage 2: smile design and imaging
Drawing the 2D design
On the smiling photograph you set the reference lines: facial midline, interpupillary line, incisal plane, the intended incisal edge position and the gingival outline. Tooth outlines are then fitted into this frame. In Dr. Hajtó's practice a dedicated smile design program is used, with natural tooth forms from his Anteriores collection of 42 natural dentitions as templates.
One trap deserves attention here. The dental midline on a frontal photograph is not fully reliable, because even a slight head rotation shifts it in the image. Confirm the midline and the incisal plane on the patient, or on a face scan if you have one.
Does the software matter?
Less than the marketing suggests. A literature comparison of eight programs, including general image and presentation software as well as dedicated smile design applications, found that Photoshop and Keynote covered more aesthetic analysis parameters than most specialised programs. Some dedicated solutions offered 3D analysis or direct CAD/CAM integration instead (Omar and Duarte 2018). Choose according to what you need to analyse and how the design will reach your technician.
Imaging for the patient
Imaging is a separate step: a photorealistic simulation of a possible result, produced with image editing and, increasingly, with AI image generation followed by manual retouching. When Dr. Hajtó uses AI tools, the instructions state precisely which teeth may change and what must stay untouched, such as the posterior gingival line and the buccal corridor.
| Benefits of imaging | Drawbacks of imaging |
|---|---|
| Gives the patient a concrete idea of the possible result | Time and cost |
| Supports the patient's decision for or against treatment | Requires technical skill |
| Demonstrates the practice's planning competence | The image is not the final result: anatomy, aesthetics and laboratory work can differ |
| Function and occlusion are not shown | |
| Risk of false expectations; the patient may see something different from the clinician |
Treat the simulation as the start of a conversation, not a promise. The mock-up in the patient's own mouth shows what can actually be achieved.
Veneer Preparation course
Preparation, material choice and bonding of veneers, hands-on and taught in English.
View the courseStage 3: from 2D design to wax-up
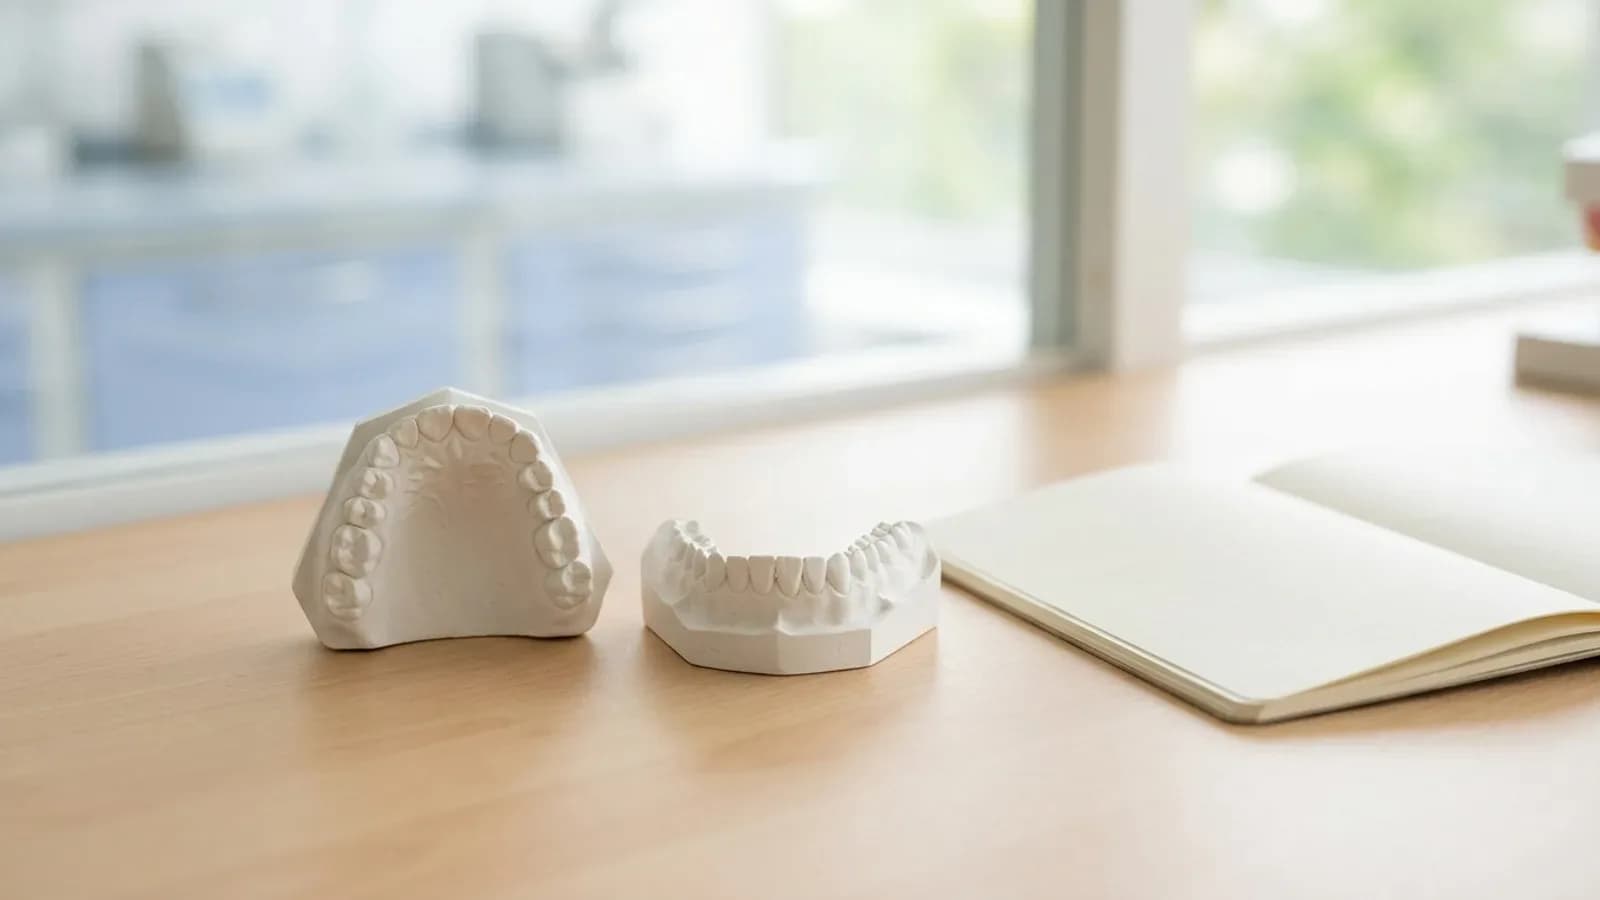
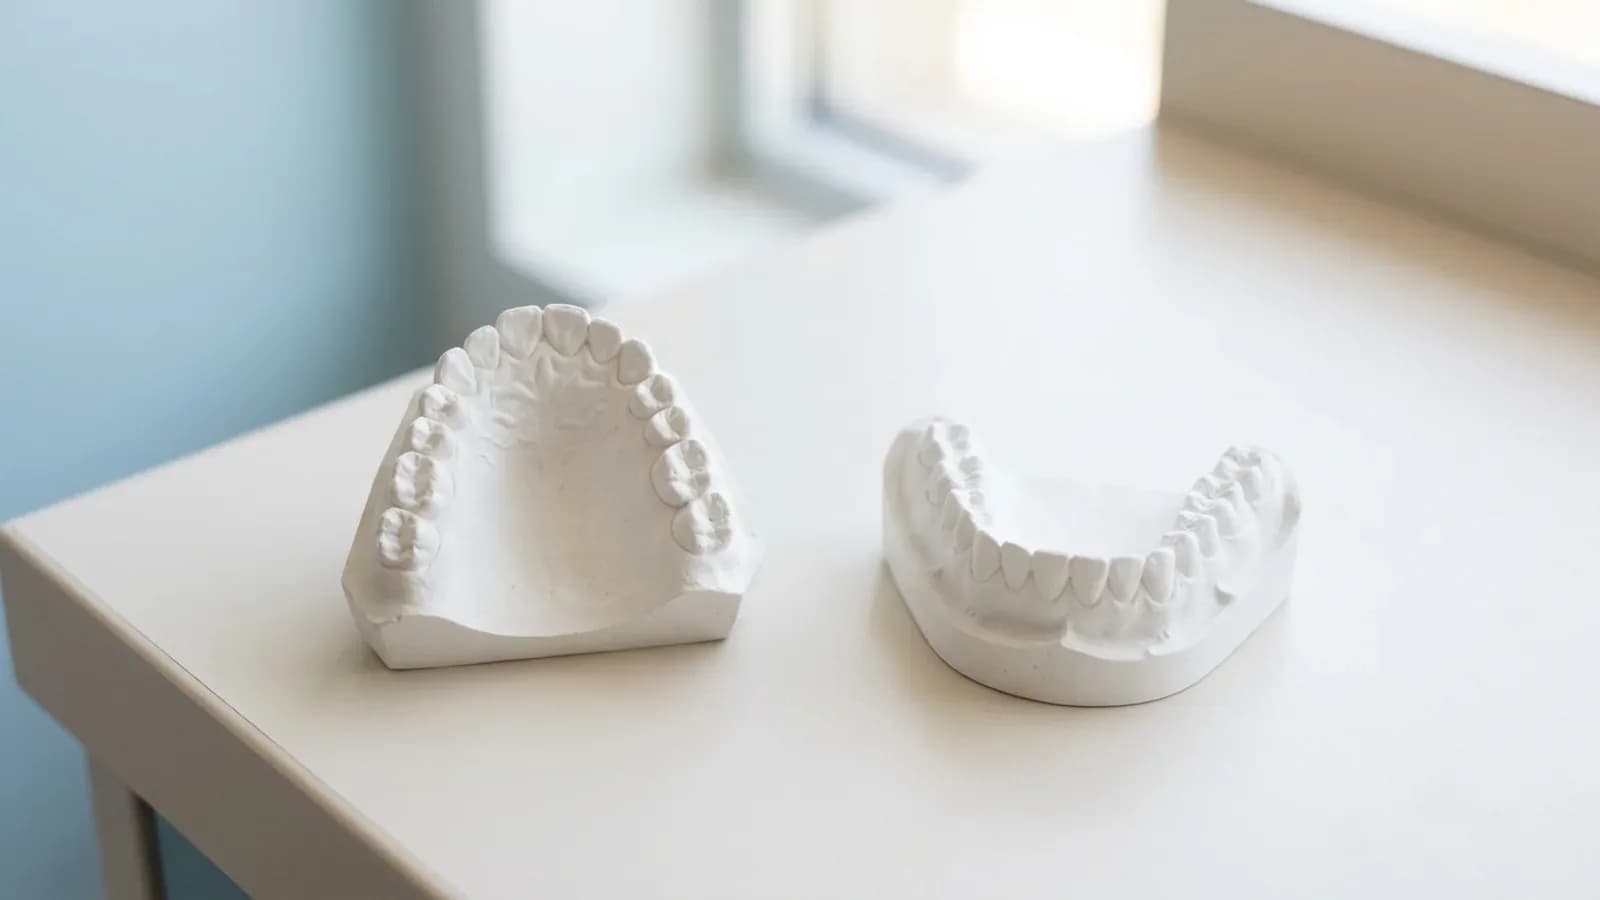
A photograph is flat; teeth have labial inclination, thickness and occlusal contacts. The wax-up brings the design into three dimensions. Two forms are useful:
- Partial wax-up: only the surfaces that will change are waxed, typically for veneers. It shows the technical possibilities with much less effort than a full wax-up, but tells you somewhat less.
- Full wax-up: every tooth involved is fully shaped; for extensive rehabilitations this becomes a full treatment wax-up of the arch.
The two can follow each other: a first wax-up is tested as the first provisional, and what you learn feeds into a second, full wax-up and a second provisional.
| Analogue wax-up | Digital wax-up | |
|---|---|---|
| Basis | stone cast | intraoral scan or scanned cast |
| Variants | each one waxed anew | several variants quickly |
| Link to the face | photos and facebow | additionally via face scan |
| Next step | silicone matrix from the wax | printed model, matrix, printed or milled mock-ups |
| Communication | cast shipped to the lab | file shared with lab or milling centre |
Digitally, natural tooth libraries provide starting shapes in the CAD software, a face scan places the design on a virtual patient and allows a symmetry check in a 3D viewer, and the file is printed as a model on which the silicone matrix is made.
For a closer look at this stage and the trial restoration, see diagnostic wax-up and mock-up.
Stage 4: the mock-up
Using a transparent silicone matrix and bis-acrylic or another provisional material, the wax-up is transferred onto the unprepared teeth. Patient and clinician now judge length, shape and the relation to the lips in the face, during speech and on smiling.
Two points matter for a digital workflow.
The mock-up is not an exact copy of the file. In vitro, mock-ups moulded in a silicone index were thicker than the virtual wax-up regardless of the silicone used, and supporting the index with a printed tray reduced the discrepancy (Ntovas et al. 2025). In another in vitro study, milled PMMA mock-ups deviated less from their digital wax-up than moulded mock-ups did from their conventional wax-up (mean deviation 0.011 mm versus 0.047 mm) (Cattoni et al. 2019). Fit is a separate question: in a study on 10 subjects, both printed and milled mock-ups were slightly larger than the digital project, and only the printed ones fitted well clinically (Lo Giudice et al. 2020).
The mock-up protects enamel. Preparing through the mock-up means reducing from the planned surface rather than from the existing one. In a cohort of 580 veneers followed for 12 years, this additive approach kept more than 80% of preparations within enamel (Gurel et al. 2012). The preparation sequence itself is covered in veneer prep step by step.
Stages 5 and 6: provisionals, prototypes and try-in
After preparation, the provisional carries the approved shape into daily life and lets the patient test it; techniques are described in veneer temporaries. For larger cases Dr. Hajtó uses laboratory-made PMMA prototypes. Changes are added directly to the prototype with flowable composite, and the modified prototype returns to the laboratory as the template.
Two try-ins close the loop:
- Shape try-in: prototypes confirm the form in the mouth. In a split try-in the two sides carry different variants, for example PMMA prototypes on teeth 13 to 11 and a chairside provisional or a ceramic sample on the other side, so the options can be compared directly. With CAD/CAM fabrication the approved prototype shape can be copied digitally into the definitive restoration.
- Shade try-in: small ceramic test plates in the candidate shades are compared in the mouth. Skipping this step risks a complete set of restorations in the wrong shade.
Material choice by thickness and indication is discussed in e.max vs zirconia, and bonding in the veneer cementation protocol.
Benefits and limits
The benefits are real but modestly documented. A systematic review of seven studies found consistently higher patient satisfaction, treatment acceptance and perceived predictability with DSD-based planning, while stressing heterogeneous designs, varied outcome measures and small samples in some studies; the authors call for high-quality longitudinal research (Alwabel et al. 2025).
The limits come from the method itself:
- Two dimensions only. A photograph shows no labial inclination, no material thickness and no occlusion. Feasibility is tested in the wax-up, not on the screen.
- Image errors. Head rotation, lens distortion and camera distance alter proportions and the apparent midline.
- Perception. Small deviations are often invisible to patients. Lay people and general dentists did not detect a 4 mm midline deviation, and lay people noticed an incisal plane cant only at 3 mm (Kokich et al. 1999). Correct what the patient sees and wants changed, not every measurable deviation.
- Function. Anterior guidance, canine guidance and vertical dimension do not appear on a smile photograph and need their own planning.
- Expectations. A flawless simulation creates a flawless expectation. The earlier the mock-up, the more realistic the conversation.
Summary
Digital smile design is not a treatment in itself but the first step of a staged plan in which photograph, 2D design, wax-up, mock-up, provisional and try-in check one another. Its value comes from carrying the approved design consistently into the preparation and the laboratory work, not from the software. Hands-on training in this sequence, from analysis to preparation, is part of the Munich Dental Academy courses for dentists.
Frequently asked questions
What is digital smile design in dentistry?
Digital Smile Design is a planning concept developed by Christian Coachman, whose company bears the same name. More generally, the term describes aesthetic planning in which reference lines and tooth outlines are drawn on standardised photographs of the patient. This 2D design guides the wax-up and mock-up and gives patient, clinician and technician a shared reference.
Which software do I need for smile design?
There are dedicated smile design programs, some with 3D functions and CAD/CAM links, and there is general image and presentation software. A literature comparison found that Photoshop and Keynote covered more analysis parameters than most specialised programs. Choose by workflow: if you plan digital wax-ups, a solution whose data your laboratory can use directly saves a step.
Does digital smile design replace the wax-up?
No. The smile design is two-dimensional and shows neither labial inclination nor thickness or occlusion. The wax-up turns the plan into three dimensions, and only the mock-up shows it in the patient's mouth. Think of the smile design as the brief for the technician rather than as the result.
How accurate is a mock-up made from a digital design?
Not exact. In vitro, mock-ups moulded in a silicone index came out thicker than the virtual wax-up, while milled mock-ups deviated less from their design in one study. Printed mock-ups fitted better clinically than milled ones in one study. Use the mock-up to judge length, shape and the smile line in the face, and control preparation depth separately with silicone indices from the wax-up.
Do I need a face scanner?
No. The foundation remains a standardised photo series at rest and on smiling, plus a short video of the patient talking and laughing. A face scan makes it easier to assess a digital wax-up on a virtual patient and to check symmetry, but it does not replace the mock-up in the mouth.